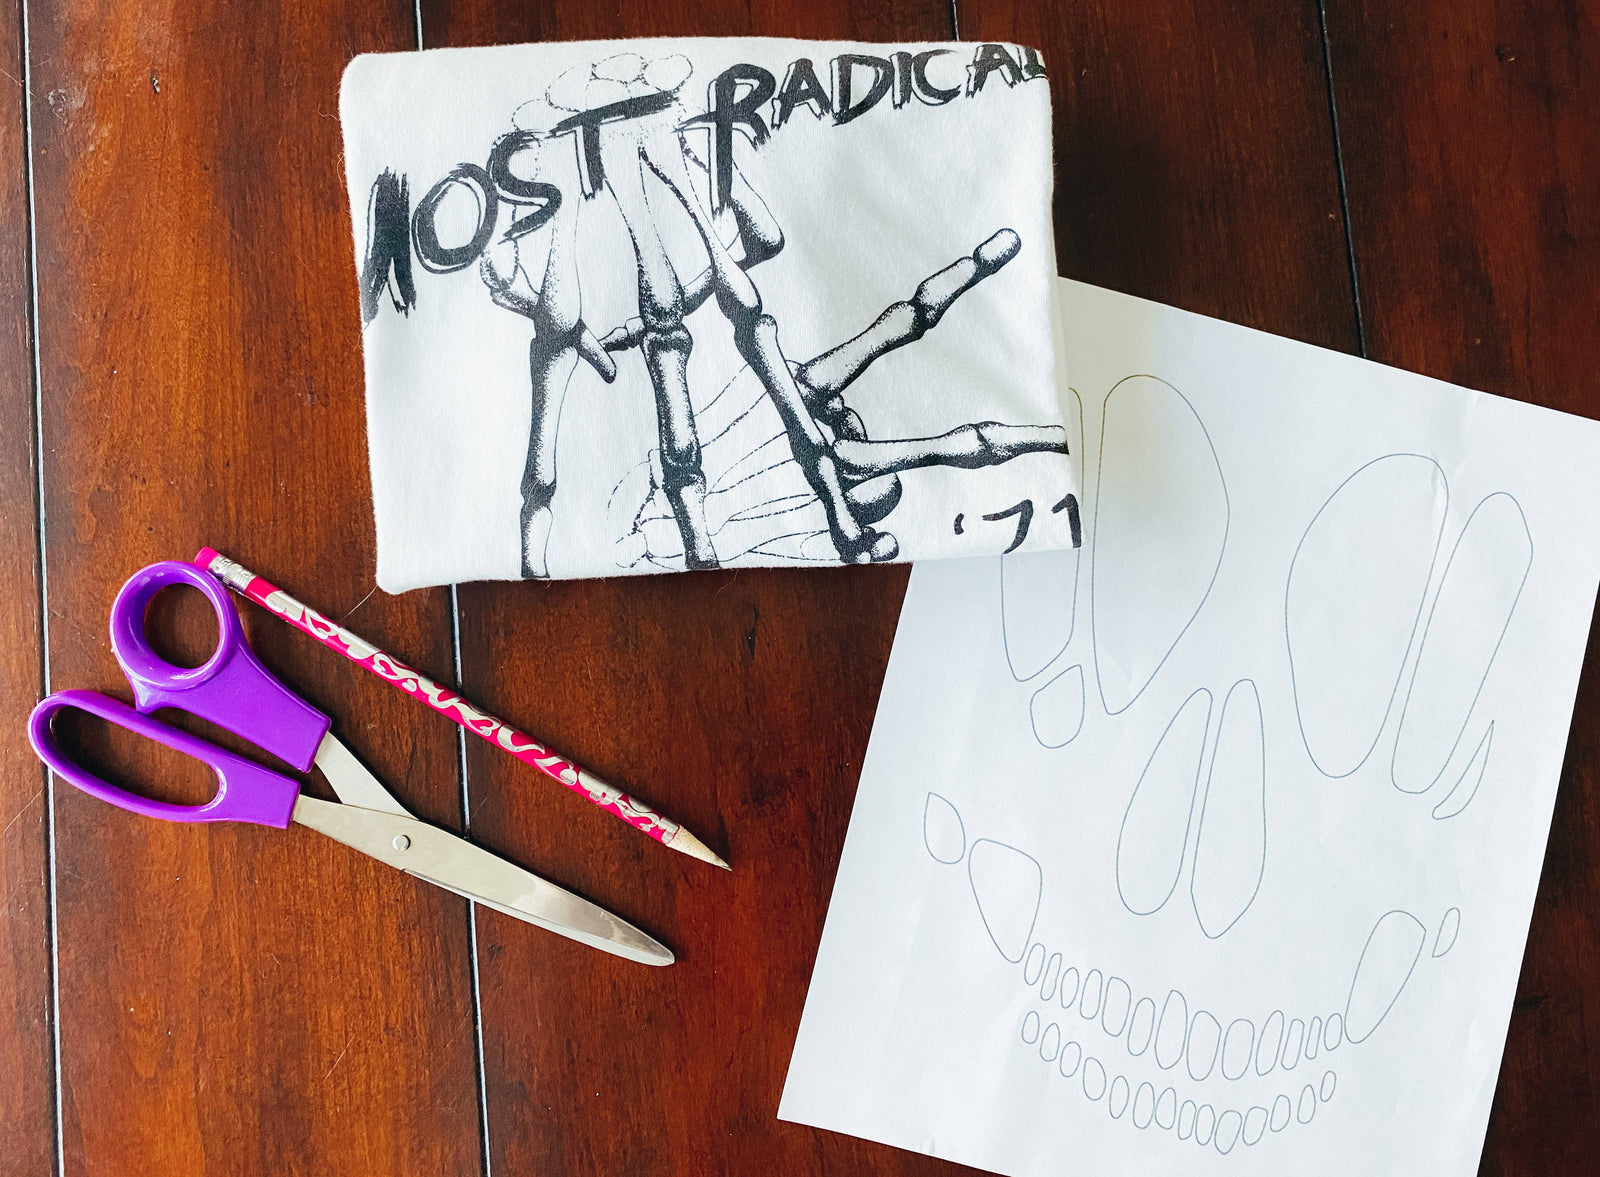
During this time in quarantine, you may find yourself cleaning out your home and closet. Have you ever looked at an old tee and thought “I like this design but I don’t wear it anymore. Can I do something to make it new again” or “I like that design but I want to make it more me”? If that is you then you are in luck! I love changing things up and bringing a new life to older shirts or finding creative ways to make an average tee have more character. I'm that person with a very large DIY Pinterest board and have never done any of it because I did not have the time, but there's no excuse now! With there being as much free time as we have, it is time to put those Pinterest DIYs to the test.
Our first DIY is an open back stencil cutout. The stencil design that I chose to use in today’s tutorial is a skull. I have always wanted to try this design out but never had the right shirt until the Most Radical Place on Earth tee,which is the PERFECT tee to try this out on! The fun part about this DIY is your stencil options are endless. Some examples are pixie wings, a heart, a peace sign, a seashell, or even a basic open back. If you are not a fan of the open back exposure, there is still a way for you to do this tutorial and it will be explained later in this post. Let’s begin, shall we?
SUPPLIES
- T-shirt or tank of your choice
- Stencil of your choice
- Pencil or chalk
- Scissors
- Tape*optional*
STEP BY STEP
- Find a template/stencil that you want to use. Adjust the size if you want.
- If it is a brand new tee, wash and dry it so it can get its shrinkage out of the way.
- Cut out your stencil.
- Flip shirt over & inside out.
- Draw/trace your outline with either a pencil or chalk*this all depends on the color of your garment*
- Cut along the drawn lines *make sure you are only cutting the back*
- *Optional step: You can cut along the bottom/sleeve seams & the collar to add raw edges. You can stretch those out to create the roll effect & your cuts will not have to be perfect.*
Step 1: Find a template/stencil that you want to use. Adjust the size if you want. The one used in this tutorial was found on Google.
Step 2: If it is a brand new tee, wash and dry it so it can get its shrinkage out of the way.
- Make sure you follow the washing and drying instructions on the tags to care for the garment properly.
Step 3: Cut out your stencil.
-
- Keep in mind that when you are cutting out your stencil, it is just a guideline. It does not have to be perfect!
Step 4: Flip shirt over*turn it inside out*
- Turning the shirt inside out is an optional step. It is preferred because if there are any leftover markings, they are on the inside of the tee.
Step 5: Draw/trace your outline with either a pencil or chalk*this all depends on the color of your garment*
-
- If you are nervous about the stencil moving around, feel free to use tape to hold the stencil in place.
Step 6: Cut along the drawn lines *make sure you are only cutting the back*
-
- This last part can be time consuming based on the stencil you chose.
Step 7:*Optional step: You can cut along the bottom/sleeve seams & the collar to add raw edges. You can stretch those out to create the roll effect & your cuts will not have to be perfect.*
Here's the finished product!
As I mentioned earlier, not everyone is a fan of having their backs exposed like this. You can either style it with a tank top like in the photos or you can get a bit more crafty... and it is easy! Go to your local craft store and grab some fabric. You can cut the fabric to cover the cutout and use no-sew glue to glue the fabric in place. This is such a fun way to make it even more your own!
The most important thing to remember is to HAVE FUN! Get creative and make it your own. If you do this tutorial, make sure to post it, tag us and use the hashtag #LostBrosDIY. If there are DIYs you’d like to see, share it with us. We will attempt it and try to put our own Lost Bros twist to it!


